Bags
My Standard Walkaround Set
I usually cary a lot of stuff. Some might say too much, but when I travel I want to be ready for anything. Sometimes, if I know I will not need a lens longer than 140mm, I might leave the big lens behind. I don’t think I’ve ever known that, so I usually carry my gear in two bags that I strap to my waist. I found that wearing my equipment on my belt instead of a traditional camera bag leaves my arms free to use when scrambling over rocks or under branches. It also saves my shoulder from having to carry the weight.
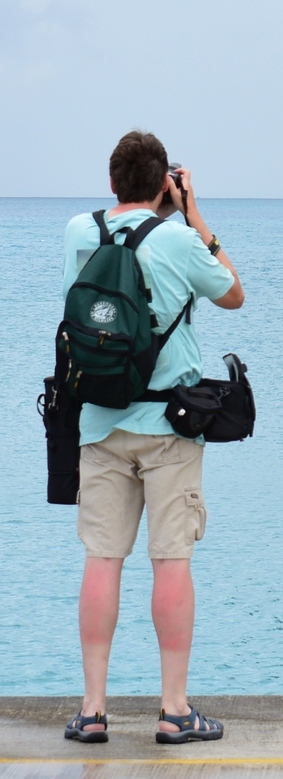
Lowepro Reza 160 AW – This bag holds one camera with either the Tokina 11-16 or Nikkor 18-140 lens attached so it’s always ready to pull out and use. I lay the camera sideways so I can lift it out quickly, and that leaves room under the lens to hold my Nikkor 10.5mm fisheye with a small bottle of cleaning solution and microfiber cloth. It’s a small bag so there isn’t room for much else. One feature I really like about this model is that the top opens in the opposite direction from most other bags. This makes it so the top opens outward away from my body and doesn’t fall closed. Sadly for me, this bag has been discontinued by the manufacturer so I ordered a spare from eBay and might have to order a couple of more for when the ones I have wear out.
Think Tank Digital Holster 30 – This bag was designed by someone who knew what they were doing and is the best bag I’ve ever owned. Like my Lowepro bag, the top folds away from the body so you’re not fighting to keep the flap from falling closed. It holds my D7200 with the Nikkor 80-400 AF-D lens (with hood extended) attached. Below that is enough space for my battery charger. For those times when I know I won’t be using the long zoom and want to have the Tokina 11-16mm or fisheye lens attached to me second body I take out the charger, reverse the lens hood, and drop the 80-400 to the bottom of the bag. That leaves enough room above for my D7200 with the Tokina attached. I’ll also occasionally retract the zippered extension when I’ll be using my 80-200mm.
My one modification I made was to drop one of those old cylindrical lids that came with stacks of 100 CD-R disks into the bottom to make it easier to slide the camera in and out and to provide some structure to the zippered extension. The bag’s one flaw is that the zipper handle points toward your leg when the bag is extended which can get uncomfortable after a long time hiking.
Tamrac Lens Bag – Also attached to my belt is a small lens bag where I hold the Tokina 11-16 or the Nikkor 18-140, whichever isn’t attached by my camera at the time.
Specialty Bags
Ape Case ACPROLC18 – I bought this bag for one reason: it was big enough to hold my Tamron 150-600mm lens attached to my D7200. I keep it for the same reason. I don’t particularly like this bag, but there aren’t too many options for that big a lens/camera combination. What would make it better? A flap that opens away from the body when it’s hanging off your shoulder (I really have no idea why that is such a hard feature to find in a camera bag) and a normal plastic clip to hold that flap closed instead of the odd clip they have. I know this is designed to be a simple lens bag, but a pocket to slide a lens cap into would be a good idea, too.
‘Pods
I’m not much of a tripod person. I’ve found that I move around way too much when shooting to set up a tripod. However, I did pick one up about twenty years ago and I keep it in my car in case the need for it arises – such as for my Texaco or The Merc photos. It’s one of those things where it’s better to have it and not need it than to need it and not have it.
Slik U-212 Tripod
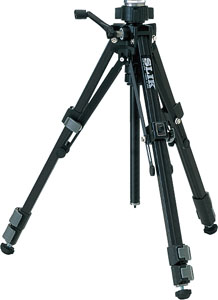
I’ve had this tripod since before 1993 when I shot my squid fishing photo. This versatile tripod was one of the first to use the flip-clamp legs instead of being tightened by a threaded collar. The legs can be adjusted to any angle independently and clamped into position with the clamps you see midway up the legs. Further, the head can be reversed and screwed onto the bottom of the post for getting close to the ground or it can be attached to a post on the leg.
This is a well-built tripod – so well built that when I ran over it with my car the only damage was a destroyed pan head. But that turned out to be a good thing in the end.
Slik Pro Pod 600
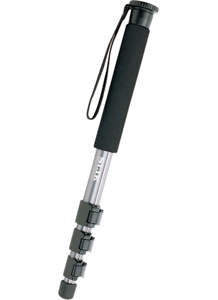
I borrowed an old monopod from a friend for a trip to Alaska earlier this year and enjoyed using it with my Nikkor 80-400 AF-D so much that I decided to buy one for myself. It was nice to give my arms a break from holding up that big lens, and it was easy enough to maneuver while tracking a Dall Sheep in Denali National Park. The Pro Pod 600 was highly rated, and after my tripod survived over twenty years of use and a trip under my car, I decided that I’d get another Slik.
Slik AF-2100 Ball Head
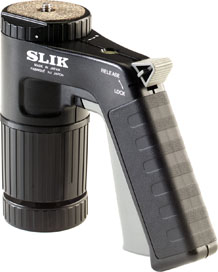
After running over my U-212 and destroying the three-way pan head, I wanted to try something new. Ball heads never interested me because of the tightening screws that lock the ball in position, but this trigger design intrigued me. I found a used one online and took it to Alaska attached to my friend’s old monopod. This head changed my view about tripods and monopods. It was so easy to point the camera where I wanted that the ‘pods became a joy to use. On the monopod, it not only made it easy to point the camera without having to adjust the ‘pod’s position, but it also added an extra six inches of height – a useful feature to a 6’-2″ photographer who finds that just about all monopods put the camera just under eye height.
Other Stuff
Hoya NDx400 Neutral Density Filter
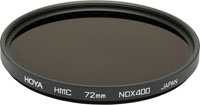
Like the fisheye lens, this is something that doesn’t come out of the bag very often. But when it does the results can be beautiful. Neutral density filters are used to block the light coming into the camera, allowing for slower shutter speeds in daylight than would normally be possible. This filter reduces the light by 9 stops, meaning that a picture that would be properly exposed at 1/100 of a second can now be exposed for two seconds, a photo normally at 1/30 of a second would be 15 seconds, and so on. This makes it possible to make photographs that show moving water in broad daylight, such as my “White Water” and “Grizzly Falls” pictures.
Sunpak LensPen
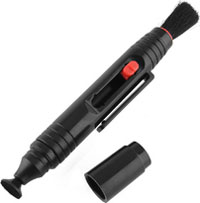
I really hesitated before buying one of these. The idea of a powdered pad rubbing on my expensive glass didn’t appeal to me. But on further research I found that these were re-branded and sold directly by Nikon, Canon, Celestron, and many other optic companies. I figured that if they were good enough to be branded and sold directly through these manufacturers, then they must have been proven not to ruin lenses. The LensPen proved to be easy to use, and the built-in brush handy to have. The small size and retractable brush made it easy to slip into a pocket in my bag and it’s much easier to use than cleaning solution and lens paper.
Holux M241 GPS Logger
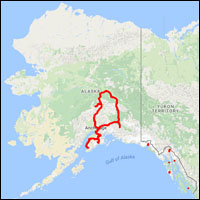
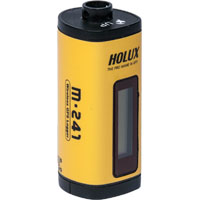
This little device can be run by an AA battery or though a car adapter and keeps a track of everywhere it’s been. This is handy for mapping out the location of photos and for just knowing where you’ve been on an adventure.
Eyelead Sensor Gel Stick
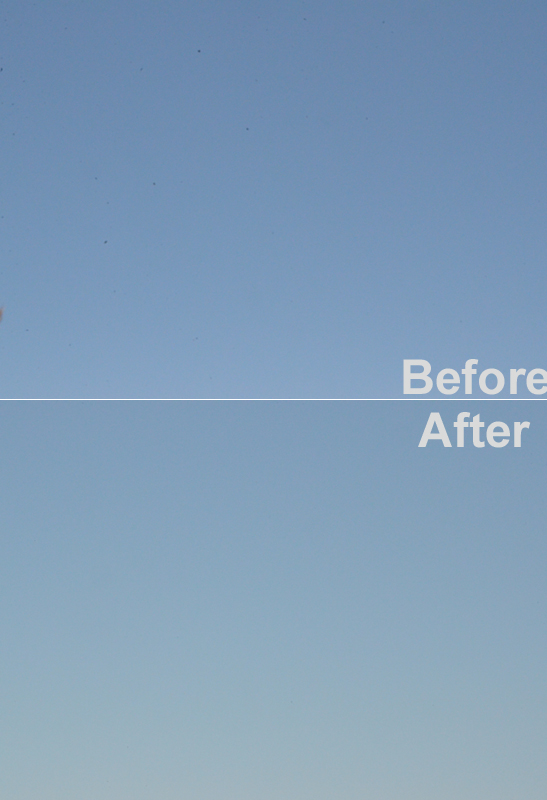
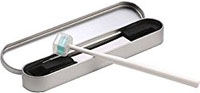
After returning from Alaska the sensors on both my cameras were a mess. Many photos had dust specs on them that had to be cleaned up in Photoshop and I knew it was finally time to clean my sensors. The Eyelead Gel Stick was recommended to me by my photographer friend Donald Quintana, who said it was a miraculous product that had made cleaning his sensors a breeze. This came with a stern warning: Only buy it from the official US distributor, Photography Life, as the knockoffs found on sites such as Amazon and eBay could be dangerous and destroy the sensor.
I found the cleaning stick easy to use and it gave remarkable results. Almost all of the specks on my sensor were gone after about four passes, and as you can see in the before and after example they were pretty dirty. There are a couple of spots that it couldn’t clean so it won’t completely take the place of a more thorough cleansing, but for keeping the sensors clean it can’t be beat.